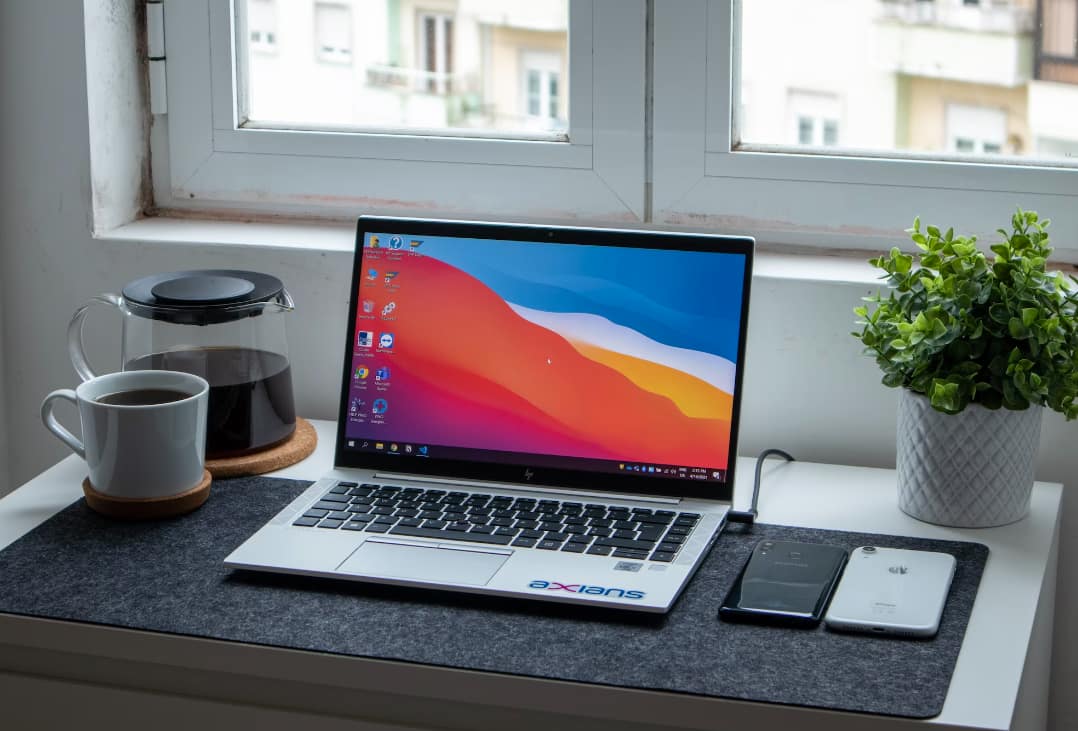
HP stands as a renowned name in the realm of computing, producing laptops recognized for their long-lasting build, exceptional performance, and diverse functionalities. Mastering the skill of capturing screenshots on an HP laptop or desktop offers a myriad of benefits so you must learn how to screenshot on hewlett packard devices such as HP Laptops or desktops.
One might want to immortalize a moment, share visuals with peers, preserve vital information, or chronicle an on-screen occurrence.
How to Screenshot on Hewlett Packard?

In light of this, here are straightforward methods on How to Screenshot on Hewlett Packard. These encompass swift keyboard maneuvers, integral utilities, and sophisticated external snapshot software.
How to Take Screenshots on HP Laptop/Desktop with Keyboard Shortcuts?
Navigating HP laptops or desktops, you can adeptly capture screenshots using keyboard shortcuts, eliminating the need for external software. Herein, we delve into three techniques to chronicle either the entirety of the screen, a segment, or the currently active window. It’s pivotal to note that after capturing, you’ll often need to transfer and store the image via an image editor.
1. Capture the whole screen of HP laptop or desktop
To chronicle the entire visual display of an HP laptop or desktop, adhere to these steps using keyboard shortcuts:
- Step 1. Seek the “Print Screen” or “PrtScn” key, typically nestled in the upper-right quadrant of your keyboard. This button might also be inscribed as PrntScrn, Print Scr, or a variant thereof. Upon pressing, it sequesters the whole screen’s snapshot onto the clipboard.
- Step 2. Launch a graphic editing application, such as Paint or the Microsoft Office Picture Manager.
- Step 3. Within your chosen editor, utilize the Ctrl + V combination. This action ingrains the captured screenshot into the editor, availing it for subsequent modifications or archival as a distinct image file.
For those seeking a more direct approach, the Windows + PrtScn keyboard combination allows you to instantly commit a screenshot to a file within your system. Engage in the following procedure to achieve this:
Direct Screenshot Storage
- Step 1. Simultaneously press the Windows + PrtScn keys. This action not only captures the complete screen view but also directly earmarks it as a file within your machine.
- Step 2. Navigate to the ‘Pictures’ directory on your computer.
- Step 3. Within the ‘Pictures’ directory, access the ‘Screenshots’ subfolder where the captured image resides.
- Step 4. Identify and select the screenshot inside the ‘Screenshots’ folder. From there, employ a graphic editing tool of your choice for any refinements or to archive it as an altered image rendition.
2. Capture part of the screen on HP laptop
For those instances where only a portion of the screen is of interest, an HP laptop offers a simple solution:
- Step 1. Engage the Windows + Shift + S key combination, initiating the screen snipping mechanism. You’ll notice the cursor morphing into a crosshair.
- Step 2. With the changed cursor, delineate the desired screen portion by dragging your mouse across.
- Step 3. Post-selection, the snippet is instantly commandeered to your clipboard, primed for pasting into an image editor or any pertinent document.
3. Chronicle the Active Window on HP
Documenting just the active application window on an HP device is seamless. Here’s a concise guide:
- Step 1. Initiate any application, letting its window emerge prominently on your HP screen.
- Step 2. Deploy the Alt + PrtSc key synergy. It discreetly captures the active window, with no overt signal of its operation, relegating the image to your clipboard.
- Step 3. Transition to your preferred graphic editing suite. Using Ctrl + V, integrate the captured window image, allowing for any subsequent enhancements or saving as a distinct graphical entity.
How to Screenshot on Hewlett Packard with built-in Tools?
Regardless of the Windows variant – be it Windows 10, 8, or 7 – that graces your HP laptop or desktop, the Snipping Tool stands as a trusted pre-installed utility for capturing screen moments. Windows 10 ups the ante with another integrated feature, “Snip & Sketch,” which combines screen capture with image refinement.
1. Take screenshots with Snipping Tool
To capture screen segments on an HP device using the Snipping Tool, proceed as follows:
- Step 1. Launch the Snipping Tool by venturing into the Start menu. Input “Snipping Tool” into the search bar and initiate by clicking its icon.
- Step 2. With the Snipping Tool interface live, select the “New” option to embark on a fresh capture.
- Step 3. Maneuver the cursor to define the screen section of interest. The demarcated zone emanates a blue hue.
- Step 4. Upon finalizing your selection, the tool autonomously captures and displays the snippet within its frame.
- Step 5. To immortalize the capture, navigate to the “File” tab and opt for “Save As” from the ensuing list.
- Step 6. In the subsequent “Save As” dialogue, designate a storage point, christen your screenshot, and consummate by hitting “Save.”
Note: The Snipping Tool remains exclusive to Windows ecosystems. Should you navigate a divergent OS, your screenshot journey would differ. It’s prudent to familiarize oneself with the relevant OS-specific guidelines.
2. Capture a screenshot using Snip & Sketch on HP
Venturing into the realm of “Snip & Sketch” on your HP device, adhere to the following:
- Step 1. Execute a simultaneous press of the Windows + Shift keys, swiftly followed by the “S” key, ushering in the “Snip & Sketch” environment.
- Step 2. Engage your mouse to delineate the intended screen portion. Anticipate a blue overlay on the marked territory.
- Step 3. Hit the “Capture” prompt, securing your screenshot. The image is then entrusted to your clipboard and a vignette surfaces within the “Snip & Sketch” interface.
- Step 4. For preservation, engage the “Save” function in the application. Designate its final resting place on your machine and bestow a moniker.
Top 10 Screenshot Tools for HP Laptops:
- Procedure: a. Access from the Start Menu by typing “Snipping Tool.” b. Click on “New” and drag the cursor to select an area. c. Save the screenshot in the desired location.
- Procedure: a. Launch via the Start Menu or the “Shift + Windows + S” shortcut. b. Use the top bar to choose the type of capture. c. Save or annotate as desired. Know More.
3. Lightshot
- Procedure: a. Download and install from the official website. b. Use the “PrtSc” button for quick access. c. Drag and capture, then save or share directly.
4. Greenshot
- Procedure: a. Install Greenshot from its official site. b. Utilize the “PrtSc” button or customize hotkeys. c. Select a region, window, or full screen, and either save, copy, or open in the editor.
5. ShareX
- Procedure: a. Download from the official website. b. Access multiple screenshot modes through the user interface. c. Customize and employ hotkeys for a streamlined experience.
6. Jing
- Procedure: a. Install Jing and launch. b. Use the sun icon to capture an area or record a video. c. Save directly or upload to TechSmith’s server for sharing.
7. PicPick
- Procedure: a. Get PicPick from the official source and run. b. Use the interface or hotkeys for various capture modes. c. Edit in the built-in tool and save or share.
8. Snagit
- Procedure: a. Download and initiate Snagit. b. Use the intuitive toolbar for capturing, recording, or even GIF creation. c. Edit with annotations, effects, and more before saving.
9. Screenpresso
- Procedure: a. Download Screenpresso and launch. b. Use the “Print Screen” button or the user interface. c. Capture screens, and videos, or even create documents with it.
10. TinyTake
- Procedure: a. Obtain TinyTake and open. b. Use the toolbar for capturing images or videos. c. Annotate, save or share directly from the tool.
FAQs:
-
1. How can I capture an image of my screen on an HP laptop running Windows 10?
For users of the Windows 10 platform on an HP laptop, engaging the “Windows + PrtScn” keys will yield a comprehensive screenshot. This visual file then conveniently nestles within the “Screenshots” directory.
-
2. Post-capture, Where can I locate my screenshot on an HP laptop?
Upon executing a screenshot on an HP laptop, the image typically resides in the “Screenshots” repository, a subdirectory under the “Pictures” vault. From here, you can manipulate or disseminate the image per your requirements.
-
3. The Print Screen function seems unresponsive. Why?
The Print Screen function’s unresponsiveness could stem from several roots. Here’s a diagnostic rundown:
- Examine the Print Screen key. Physical impediments, such as damage or a jammed key, could impair its function.
- Ensure activation of the Function or Fn key. Occasionally, the Print Screen utility might nest under another key, necessitating the simultaneous pressing of the Function or Fn key.
- Delve into your keyboard configurations. The potential exists for the Print Screen function to be deactivated or reallocated. Certain keyboard configurations grant such flexibilities.
- Consider rebooting. An elementary system restart can occasionally rectify latent glitches associated with the Print Screen utility.
- Ponder updating your keyboard’s driver. Languishing or compromised drivers can undermine the Print Screen functionality. The HP Support portal offers the latest driver renditions specific to your laptop model.
More Useful Guides:
- How to Right Click on a Chromebook
- APN Settings for Unlimited Data
- Windows Update May Have Automatically Replaced Your AMD
Conclusion:
We’ve delineated 2 streamlined strategies to chronicle screen moments on your HP laptop or desktop via this guide on “How to Screenshot on Hewlett Packard”. The choice is vast, and tailored to resonate with individual preferences.
Not only does it mirror the functionalities of shortcuts and native utilities, but it also brings an arsenal of auxiliary features, amplifying your screen capture journey to new heights.


