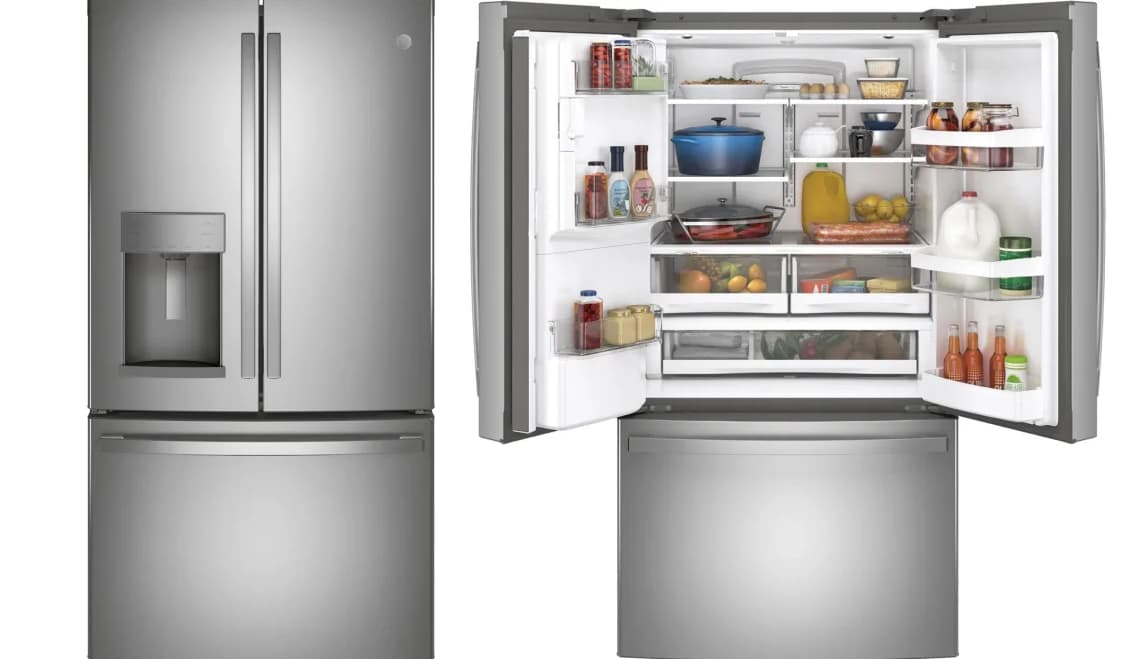
Most GE refrigerator owners might have observed a peculiar trend: at some point or the other, these refrigerators seem to face cooling issues. If you’re nodding in agreement, you’re certainly not alone in this experience.
But, here’s a silver lining. From my extensive experience of over a decade in handling used appliances, a whopping 80% of GE refrigerator cooling problems are actually solvable with a touch of DIY.
GE Refrigerator Not Cooling

In fact, for the majority of these quick solutions from Trendy Toggle Experts, all you need is a trusty screwdriver and a few minutes of your time.
Unexplained GE Refrigerator Cooling Malfunction? Let’s Dive In.
So, you’ve noticed that your GE refrigerator isn’t cooling as it should. A common culprit in this situation is the condenser coil, positioned at the back of your refrigerator. This coil plays a pivotal role—it helps swap out the hot air from outside with the cooler air inside your fridge. If this coil is bogged down by dust or any obstruction, it could jeopardize the refrigerator’s cooling efficiency.
However, before you roll up your sleeves and venture behind your refrigerator, I would suggest checking some basic yet commonly overlooked things:
- Power Check: First and foremost, ensure your power outlet is functional. Unplug your refrigerator and test the outlet with another device. If the outlet isn’t functioning, perhaps the circuit breaker tripped. After confirming the power source, unplug your refrigerator for a good two minutes and then plug it back. This little ‘break’ might reset the appliance and solve the cooling conundrum. And while you’re at the back, do remember to maintain a minimum of one-inch clearance between the fridge and the wall. Proper ventilation is crucial for efficient cooling!
- Temperature Setting Insight: An oversight in the temperature settings can be a sneaky cause of cooling issues. A small twist of the temperature knob by a curious child or an accidental nudge can turn your fridge warm. Ensure your settings are optimal. If the temperature is cranked up too high, it not only affects the cooling in the fridge but can also play spoilsport with your freezer and ice maker.
- Door Dynamics: The doors of your refrigerator and freezer need to close perfectly to maintain the internal temperature. Ensure there’s nothing obstructing them from sealing completely. While on the subject of doors, inspect the gaskets. These rubber seals ensure no cool air escapes. If they look out of place, gently press them back to their position.
Condenser Coil Cleaning: A Simple Yet Effective Solution
After these initial checks, if the problem persists, it’s time to delve deeper. Start with the condenser coil:
- Move the fridge away from the wall and unplug it. (Remember to plug it back in when required during troubleshooting!)
- Check for any visible obstructions around the vent at the back. This vent is responsible for pulling in the fresh air, crucial for the condenser system. Over time, accumulated dust and debris might be hindering its function.
- After cleaning the vent, unscrew and remove the back vent plate to reveal the condenser coil. If the coil resembles a dusty maze, it’s time for a cleanup.
- A condenser brush paired with a vacuum can be your best ally here. Sweep off all the accumulated dust from the coil, vacuuming it simultaneously. Remember, a clean condenser coil ensures an efficient exchange of hot and cold air.
- Depending on your refrigerator model, the coils might extend to the front beneath the kick-plate. If so, don’t forget to clean that section as well.
- Once all is spick and span, plug back the refrigerator and hope for the best. Also, mark your calendar for a similar cleaning session every six months.
When the Condenser Fan Calls for Attention?
If your GE refrigerator still isn’t cooling post a thorough cleaning, the condenser fan might be the party pooper. Positioned between the compressor and the condenser coils, this fan ensures continuous circulation of air, aiding in the cooling process.
- Examine the fan for any dirt or noticeable damage. If it appears rusty or doesn’t function when the refrigerator is plugged in, a replacement might be in order.
The Compressor Relay: The Unsung Hero
Another potential savior in your troubleshooting journey is the compressor relay. The compressor is the heart of your refrigerator’s cooling system, and the relay essentially ‘powers’ it.
- With the refrigerator running, touch the compressor. If it’s silent and still, the relay might be the troublemaker.
- The relay’s efficiency can be gauged by the sounds from the compressor. A quick “click on” followed by a “click off” indicates a faulty relay.
- To double-check, unplug the refrigerator, detach the relay, and give it a gentle shake. A rattling sound or any debris falling out is a confirmation of its inefficiency. A multimeter can further cement the diagnosis.
Remember, while DIY is empowering, if you ever feel out of depth, don’t hesitate to call a professional. Your refrigerator is an essential appliance, and sometimes expert hands can ensure its longevity and optimal performance.
Evaporators: The Cooling Agents
Evaporators are the magic behind the cooling in your refrigerator. Traditionally, refrigerators had a single evaporator located in the freezer, which would then distribute the cold air to the rest of the unit.
Modern innovations have given rise to refrigerators with dual evaporators. In GE’s language, this is known as “TwinChill” technology. This modern addition allows for more efficient temperature control for both the freezer and refrigerator compartments.
Single Evaporator Refrigerators
- Inspecting the Evaporator: First, ensure the refrigerator is unplugged. Access the evaporator by removing the shelves and then the panel in the freezer. Behind this, you’ll find the evaporator coils which are crucial for cooling.
- Ice Accumulation: If you spot excessive ice or snow on the evaporator coils or panel, closely inspect the defrost thermostat located at the top of the coils.
- Defrost Thermostat: A swollen lid indicates a faulty thermostat that needs replacement.
- Defrost Heater: Located beneath the evaporator coils, this element melts ice buildup. Ensure it’s functioning correctly, and if not, check its electrical signal with a multimeter. A reading between 20-40 Ohms suggests it’s working.
Dual Evaporator Refrigerators
- Focus on the Refrigerator: As the refrigerator is the problem area, direct your attention there. After ensuring the unit is unplugged, remove the shelves and access the evaporator panel.
- Ice Woes: Should there be significant ice formation on the coils or the panel, give it time to thaw. Sometimes, leaving the refrigerator door open for extended periods can cause this issue due to condensation.
- Defrost Heater: Located at the bottom, this heater is tasked with melting ice. If it’s not functioning, the coils could be enveloped in ice.
Taking a Look at the Evaporator Fan
This fan is responsible for circulating cold air. If it fails, the refrigerator won’t get cold enough. Listen closely; if you can’t hear it, there might be an issue.
For single evaporator models, the fan is in the freezer. Access it by removing the light mountings. A fan that’s not functioning might be due to obstructions or failure. For dual evaporator models, the fan you need to inspect is in the refrigerator compartment. If the fan isn’t running after the door has been closed for a while, it may need to be replaced.
Checking the Defrost Drain
Water produced during the defrosting of the evaporator coils should drain away. If the drain gets clogged, the subsequent frost cycle can lead to more ice than the defrost heater can handle. This could be the reason your GE refrigerator isn’t cooling as expected.
For a single evaporator, you’ll find the drain in the freezer, while for a dual evaporator, it’ll be in the refrigerator. Ensure this drain is clear, and if blocked, consider using forced air or a turkey baster to clear it.
Finding Replacement Parts and GE Support
If a faulty part is the culprit, you’ll need a replacement. Note down the exact model number found on a sticker inside the refrigerator and search on the Sears Parts Direct website.
If all else fails, reach out to GE support at 1-800-GECares (1-800-432-2737). They’re available Monday–Friday: 8 a.m.–9 p.m. ET and Saturday–Sunday: 8 a.m.–6 p.m. ET. Some warranties may even cover the service cost in full!
Conclusion
Your GE refrigerator not cooling can be a daunting issue, but by taking methodical steps, you can identify the problem. Check power sources, clean vents, inspect the evaporator fan, clear the defrost drain, and ensure components are working correctly.
If troubleshooting doesn’t resolve the issue, always consider seeking professional assistance.


